Long-lasting results and a perfect merge with your natural hair are the hallmarks of keratin tip hair extensions. But if you've never done it before, installing keratin tip hair extensions can be challenging. Because of their strong keratin bond, K Tip Extensions stand out because they integrate seamlessly and naturally for a more sophisticated look.
Because of the tiny keratin bond sites and silicone coating added for protection, K Tip Extensions look remarkably natural after installation. K Tip Extensions are applied with the use of a heating device to firmly melt the keratin tips onto your natural hair, read more … from the Intact Hair site for resulting in an impeccable and long-lasting bond of k tip hair extensions.
How Much Time Do Extensions Make Of Keratin Tip Last?
The strength and lifespan of keratin tip extensions are well-known. With several variables influencing them, these extensions can, on average, survive up to six months after they are implemented. Keratin tip extension lifetime is dependent on several factors, including the quality of the extensions and the routine care and maintenance schedule. Durability and quality are guaranteed while using Luxshine keratin tip extensions. To ensure long-term, tangle-free use, we only provide premium quality, 100% human hair.
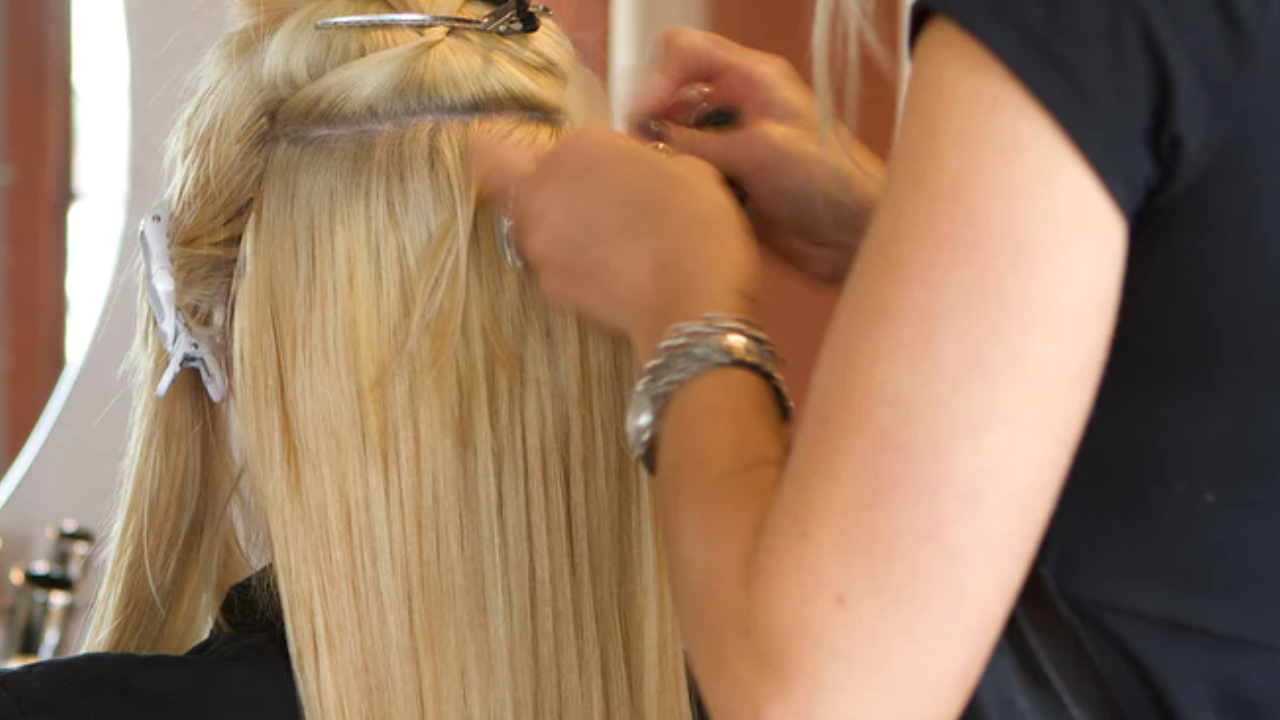
Installation Method of K Tip Hair Extention
For the extensions to fit in seamlessly and last, proper installation is essential. You can complete the installation of k-tip extensions correctly if you follow the step-by-step instructions found there.
Assemble Equipment and Tools
It's critical to acquire all required tools and materials before beginning the installation process. These could consist of a heat protector spray, sectioning clips, a fusion iron, a hair extension application machine, K-tip extensions, and a tail comb. Furthermore, make sure your workspace is cozy and well-lit.
Consultation As Well As Colour-Matching
Consult with your client in-depth before starting the installation process of K-tip hair extensions. Talk about their ideal lifestyle, appearance, and maintenance needs. To ensure a smooth transition with the selected K-tip extensions, pay special attention to their natural hair color and texture. Take your time while doing a color match.
Examining Hair
Check the natural hair carefully to make sure there are no split ends or damage in your hair. To provide the K-tip hair extensions with a healthy base, trim the hair as needed. To get rid of any oils or residue that can prevent the extensions from sticking, wash the hair with a shampoo.
Prepare Hairs
Go through your hair with a comb to get rid of any knots or tangles. Partition your hair into smaller portions, working your way up from the nape of your neck. Secure each section using sectioning clips, and sections for simple management. To shield your hair from heat damage, lightly sprinkle it with heat protectant spray.
Attach the Extention
Approximately one centimeter from the scalp, place the keratin tip of the extension close to the base of your hair. To apply heat to the keratin tip, use the heat fusion connector tool. As a result, the keratin will melt and form a strong link with your natural hair. For a smooth and securely bonded keratin bond, roll it between your fingers. Work your way through the process.
Combination and Design
It's crucial to mix your keratin bond extensions with your natural hair for a seamless, natural-looking look. To style the extensions the way you want, use a curling or flat iron. To protect both your natural hair and the extensions, use a heat protectant spray first, then apply heat. To set the style and provide more grip, use a light hairspray at the end of the styling procedure.
Conclusion
Keratin tips for intact hair that have been expertly developed usually last three to four months and offer long-lasting beauty. It takes precision, persistence, and attention to detail to become a master at installing K-tip hair extensions. Stylists and enthusiasts alike can accomplish a faultless application that flawlessly blends with natural hair, offering a transformative and long-lasting appearance, by following the step-by-step guide provided above.